
No matter how prominent a location you have chosen for your business, it would not deliver the high turnover you have estimated until you go online. Today, the purchase of products and services has largely shifted to the online model, in such a time you need to have a website up there on the World Wide Web and that too in quick time. Lucky you stumbled upon this blog, as we are about to discuss these facets – how to build a website within the quickest time frame without a complicated process. Here it goes…
Step-I
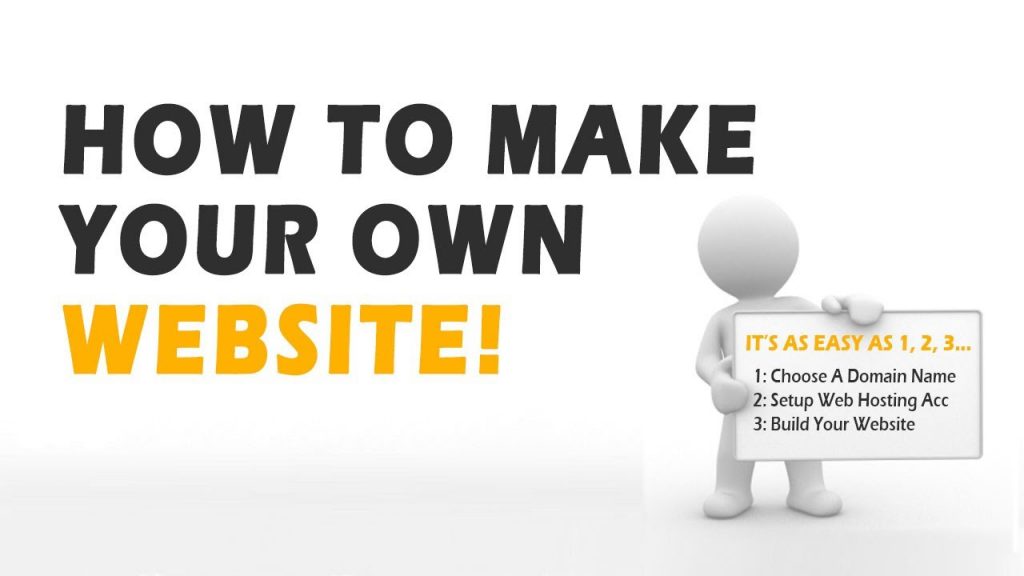
• Choose your web hosting and domain name: To have an address on the web you need to have a domain name along with a capable web hosting services provider. Now, there are many free hosting services that would be a great lure for you. But they come with the condition that your business name would be followed by a web hosting services’ name in the suffix. This does not look professional, so you need to use paid services and use high speed as well as secured hosting along side suitable domain name.
Step-II
• Create a website with WordPress: Your web hosting services would aid in one click WordPress installation. All you have to do is login to your hosting account, click on “Visit my account”, select the purchased domain and create login details for your Cpanel account. While you are logged in the in the Cpanel, navigate through Web Application section and click on the WordPress icon. Next, click on the “Install Now” button and you can access your new WordPress website. After the installation is complete, replace www.yoursite.com/wp-login.php with your domain name and you are done!
• Choose a Theme/Template for Website: Once the installation is complete, you can find a clean version of your WordPress website. Though the clean look is good, but it does not have the desired customized appeal you would require for a business website. So, you need to visit the “Appearance” section of the WP back-end and then browse through the abundance of “Themes” there. You can customize thousands of free themes present there. It is mention worthy here, that the theme chosen should be responsive which helps the website have a similar look and feel across various devices.
Step-III
• Add or Edit Pages: Once the theme is installed, it is now time to fill your website with content and accompanying images. So, click on the “Pages” section of the WP sidebar and click on “Add New”. It will open up the WordPress editor, which resembles with a conventional Microsoft Word file. Name the new page (About us, Services, etc.) and start putting in the content and images.
• Create a Menu: Now, you would like to create a navigation bar for your website. So you have to simply visit “Appearance” option and click on “Menus”. Find the content page you have already created and then “Add to Menu”.
• Create Posts: If you are planning on having a Blog on your website, then you need to turn attention towards “Posts”. To integrate a Blog, visit the “Menu” and include “Blog” in it. Create categories for Blog by visiting “Posts” and then “Categories”. You are ready to start posting blogs!
• Change the Title and Tagline: Page titles tell the surfers what your website is about and they play an important part in SEO. So, the title should explain your offerings, include some keywords, and should be written in a natural way. Every page in your website should have an unique title. Taglines should also be added at the end of titles across all pages.
• Set up a Static Front Page: If you do not want your Home page to look like a blog, then you have to turn it into a “Static” page. A static page is a page which does not change like the blogs. The Home page will show the same content each time a visitor comes to your website and it will have the design elements you have included in the back-end. To set up the static page you need to visit the “Settings” option from WP sidebar and then click on “Reading”. Choose the static page you have already created and make it into “Front Page”.
And you are ready to start your business journey in the online world!